Outdrive U-Joints
Replacing the u-joints on my Bravo 3 outdrive. . . .
Quick Links:
Back to Home Page
Back to Maintenance Page
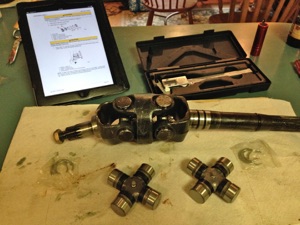
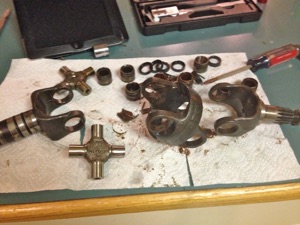
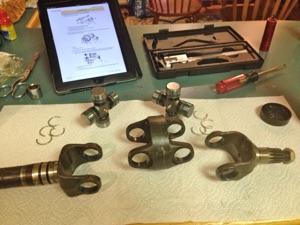
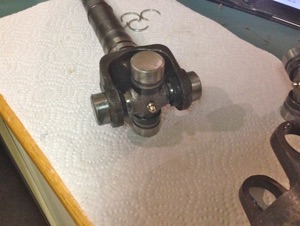


Old u-joint assembly and new u-joints
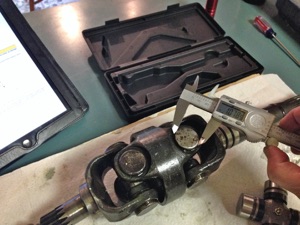
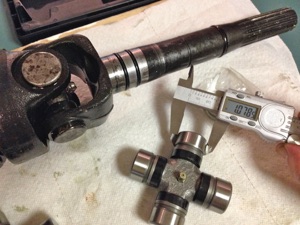
Checking the dimensions to make sure they are the right fit
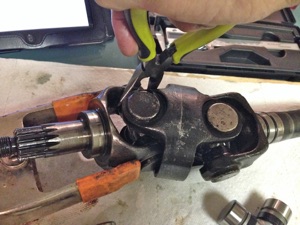
Popping out the retaining clips
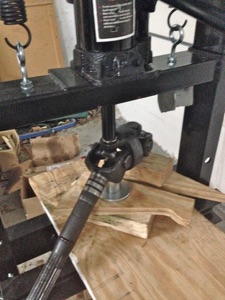
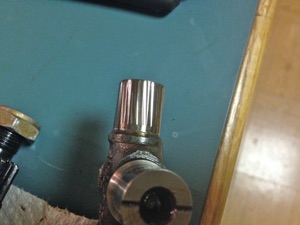
Pressing out the bearing cups
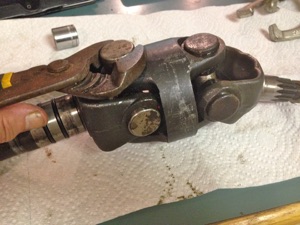
Pulling out the loose bearing cup
A total of eight bearing cups needed to be pressed out
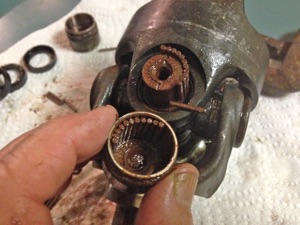
This one I named ‘rusty’
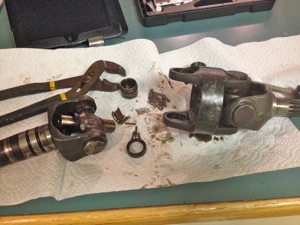
The u-joints assembly fully disassembled
One of the old bearings had become cupped, so it is good that they are being replaced
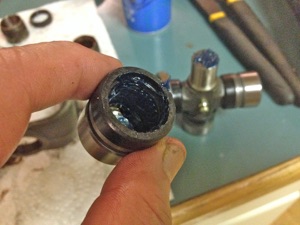
Greasing the new bearings
Removing the bearing cups in order to assemble the new bearing into the yoke.
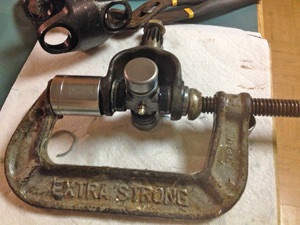
Re-assembly can usually be done with a C-clamp. I usually set the C-clip on the first bearing cup to make it through the yoke. Then the other side is pressed through to match.
Completed assembly

